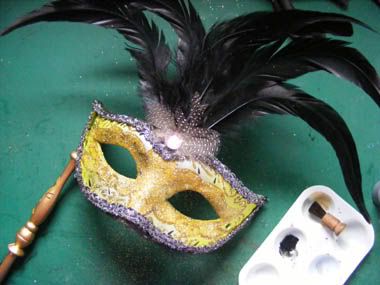
I started with a well shaped foundation mask from the discount basket (was about $10) at Eloquence Homewares. This one is papier-mâché which lends itself well to repainting.
Why did I want to change a pretty mask like this one? In a nutshell I felt it needed gothing/steampunking up. It was the wrong colour - a very bright yellow base, sparkling rainbow film glitter, with a pale pink plastic diamante. I needed it to complement this choker I had made for the Euchronia Ball.
Using a stiff bristle brush - a mini stencilling brush I think - I dry brushed black acrylic paint over the painted and glittery areas to dirty and age them. I topped up some of the plain gold, scrolled, glitter design that had gotten a bit muddled by my dry brushing.
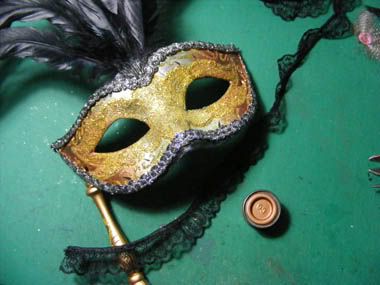
I pulled off the diamante and the smaller, grey dappled feathers. Using copper enamel hobby paint and a 000 taklon brush, I carefully painted around the glitter scroll design and over all of the yellow, stippling to blend into the silver area. This type of enamel paint is easy to work with, quick to dry and inexpensive for the coverage you get.
I painted the back and front edge around the trim with black acrylic paint. This was sealed with a mixture of pearlescent acrylic medium and PVA glue for durability ... and to prevent my nose tip from possibly getting black while wearing the mask! This paint was also used to tidy up around the feathers to hide the residual glue from the removed decorations
The synthetic lace was sewn onto the existing woven trim using a small, curved needle. Before committing to such a time consuming exercise I tested out how this would look by pinning it in place. It was not cut to length but sewn on then trimmed off to ensure I couldn't run out. A few more stitches finished the lace end. If I were to do it again I would start from the middle at the forehead rather than the tip of the mask since the symmetry would be that tiny bit better.
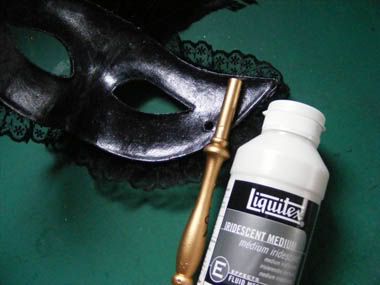

Here is a large, metal, filigree cap bead and a small Czech crystal (the same type and size used on the matching choker).
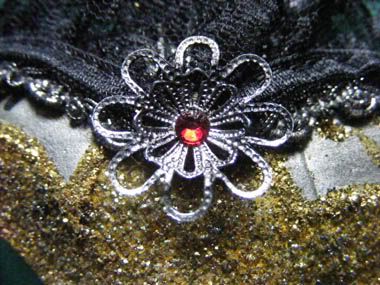
I gently opened up and slightly flattened the cap bead. I stuck the crystal in the centre using contact adhesive. More contact adhesive was used to stick the two to the mask over where the pink diamante had been. Assembled it looks like both a flower, and a gear with a ruby movement.
I didn't want to stick an actual gear on it, since that would be too obvious and a bit silly! It would also be a somewhat clunky - I did try out a few different watch gears. Stylewise a gear was not in keeping with such a feminine mask, and it would limit it to steampunk outings only.
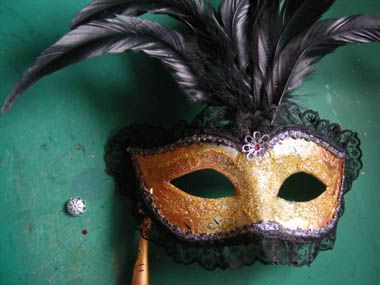
Finished! Almost...
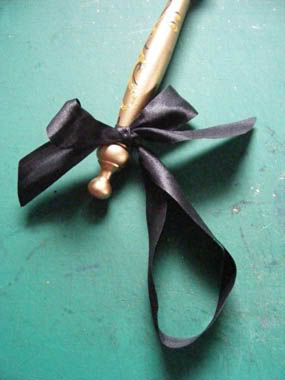
Knowing I wouldn't want to hold this beauty to my face the entire evening, I added a loop of ribbon big enough to easily take my hand while holding the mask. It's sewn in place and the bow is sewn to ensure it stays.
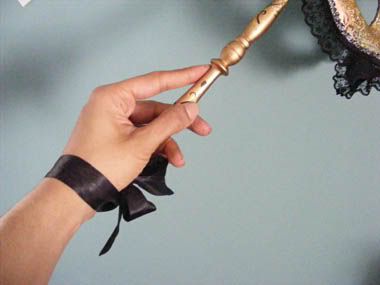
Thus I was able to gracefully hold it in my hand while wearing the mask and dangle it from my wrist while sipping a cocktail.
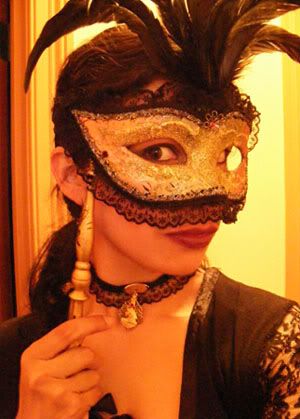
Voila!
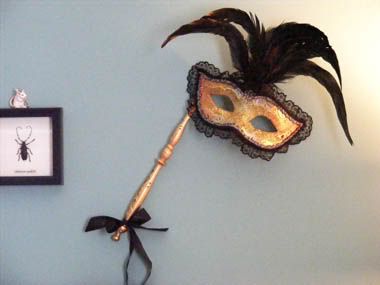
After the event it made a nice addition to my decor. I tied a little loop of gold thread at the end of the stick near the mask and hung it off a pin.
I hope that was inspiring. I love customising things :)
2 comments:
It's very nice =). I got a mask of the same type, with the exact same handle - but it was around $25.
Thanks :)
Post a Comment