
Wreath made of wisteria vine prunings, decorated for Christmas.
This is so easy - you don't need to be an expert florist or craftsperson to get a good result. It's a great way to utilise waste from your garden, so it's also free! I enjoy making them so much I've been making one every year since moving to this house. I will have to start giving them away. They could make a sweet gift for a loved one.
Depending on how you decorate this wreath you can use it for all sorts of occasions or as a year round piece of decor. You can also use the same technique on grapevine. That is what the commercially sold natural wreathes are made of. The advantage of the wisteria prunings is that the vines are more supple and won't snap like the grapevine does. I have successfully used a similar technique with young bamboo with the leaves on but the edges of the the leaves are like tiny serrated knives. Wear long sleeves if you go down that path.
You will need a round bucket to dry the wreath on. Preferably it has no moulded in spout - this may lead to a less round wreath - and a good slope to the sides for easy putting on and removal of your wreath.
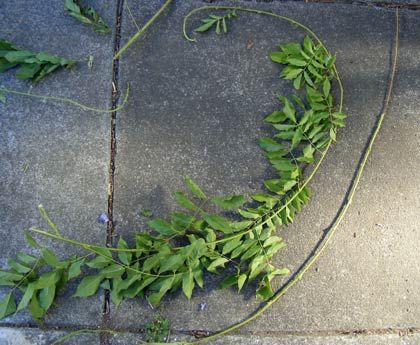
1. Strip vines of leaves. If you are using grapevines you can leave the tendrils on. They add interesting texture and make the wreath fuller.
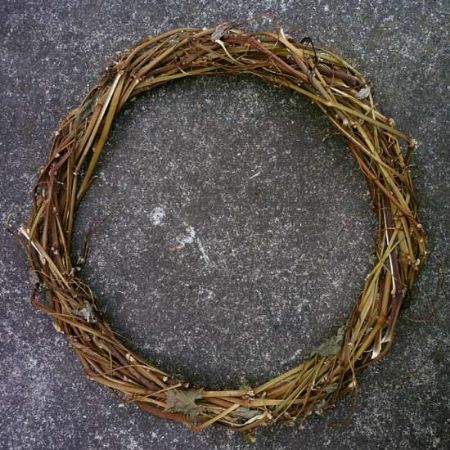
2. Starting with the thickest end, wrap a vine over itself into a circle of the size wreath you want. Pay attention to how the vine allows itself to be bent and don't push it in ways it won't yield.
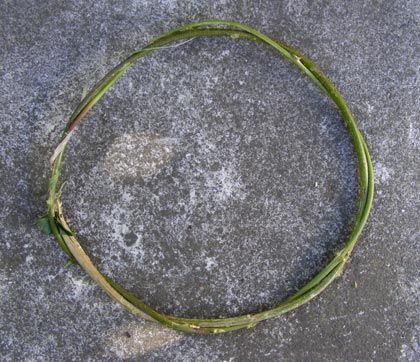
3. Keep on adding more vine lengths - preferably in one direction only but it isn't the end of the world if you don't...
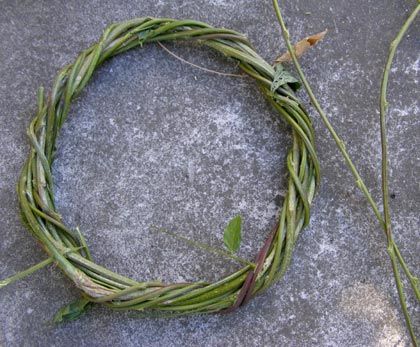
4. ...Until you have used up your prunings.
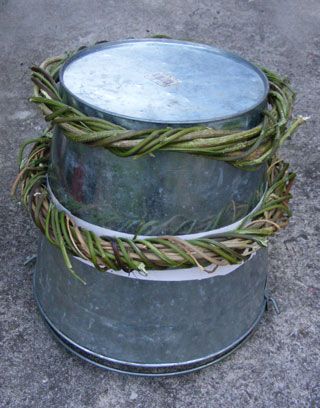
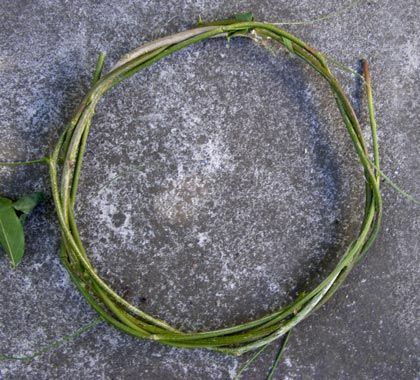
5. Push over upturned bucket until it fits snugly. This will ensure a perfect, round shape. As you can see it is possible to dry more than one wreath at a time. Leave to dry.
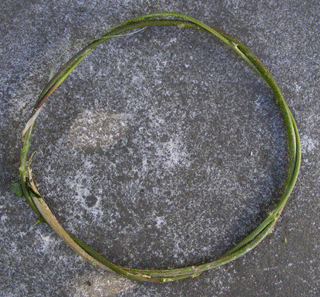
6.It's ready for another wrapping session when it the vines have shrunk back and are no longer green. It takes 3 to 4 sessions of pruning and wrapping to get a sturdy, solid feeling wreath. It can not be done in one session because of the shrinkage. It loosens as it dries and you need fresh material to tighten it up.
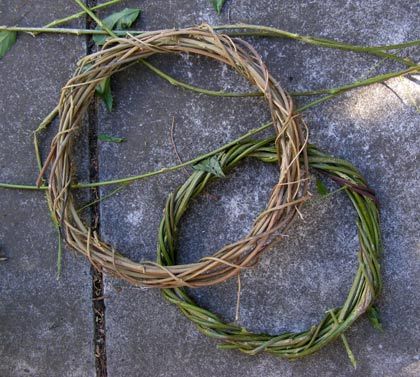
Dried and fresh wreathes.
Grapevine wreath


