Due to the unending popularity, and recent 'emulation'*, of my
How to Make a Fascinator post** the fun will now continue!
Here are new instructions and tips from creating my sister's wedding fascinator, with step by step photographs to make it easier for you to make your own. If this is your first time here, and you're planning to make a fascinator, please take the time to read the
original post because much of what I had to say still applies.
[edit 20/11/09]
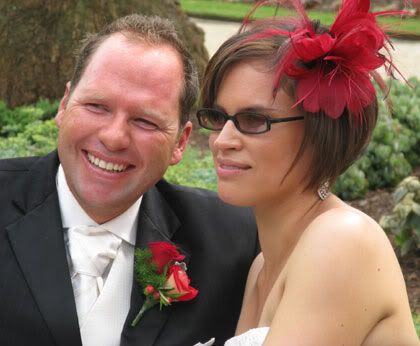
My sister and her new hubby on their big day. Just lovely and they're so cute together :)
Photo by Nic Daws.
[/edit]
MaterialsFollowing the praise received for my first fascinator, I volunteered my new found millinery skills to my sister for her wedding. She independently went to Spotlight and bought approximately $20 worth of materials;
two feather flowers,
hair slide combs, and
a pick of short emu feathers.
We discussed what she wanted - nothing too big or showy - soft and pretty. She had a pinky red and black theme for her wedding though her dress was a traditional white.
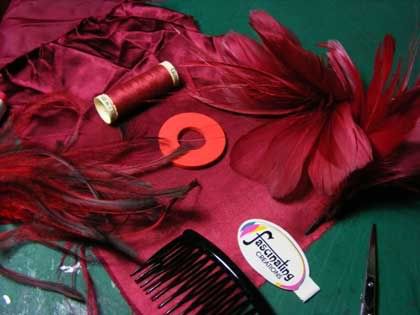
In addition to the materials my sister brought over I used
a foam disk (a soft and flexible projectile from a children's toy),
some scrap red satin,
organza (sheer) ribbon,
additional emu feathers,
craft glue, and
polyester thread.
She did not buy a base so this presented an opportunity to make one from scratch. The foam disk could be cut from a sheet of what is commonly known as craft foam, available at art and craft shops. Whatever you use to create a base, it needs to have a combination of rigidity so that it holds its shape while still being flexible to curve around the head when being put on. For this project the base is relatively small making this fascinator more of a big hair accessory rather than a hat substitute.
Making the base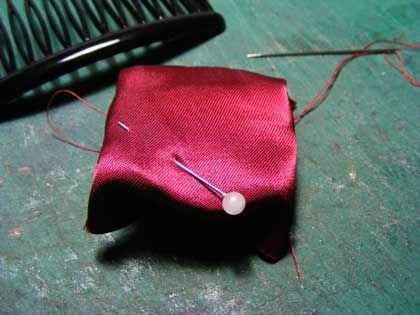
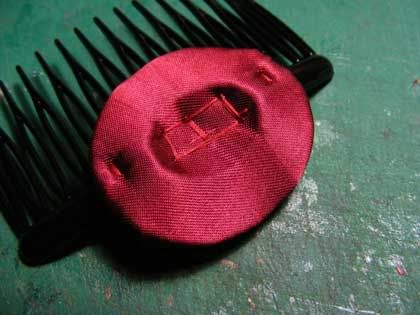
1. The ironed, circular piece of satin was stretched over the foam disk. A pin helped keep it in place during the stitching process.
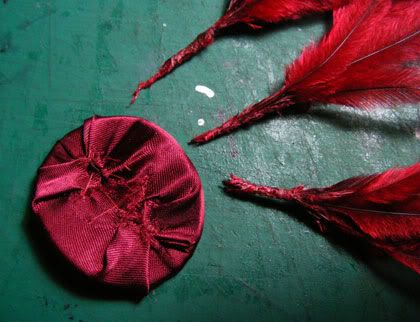
2. The reverse of the disk.
As you can see the stitching and stretching needs to be even and neat. Fortunately the foam is very easy to work with and sew through. I used the stitches to put a curve into the disk matching the curve of the slide comb. I gently brought opposite sides of the fabric together. Then I brought in the corners, squashed them down and stiched them to lie flat.
The pick of emu feathers was seperated into three even picks which were bound together with craft glue and thread. After rolling the ends between my thumb and fore finger with some glue, I wrapped the thread around the ends and put a little more glue.
An interesting and useful thing about emu feathers is that they come in pairs. Don't seperate these pairs. It will probably make them harder to sewn on.
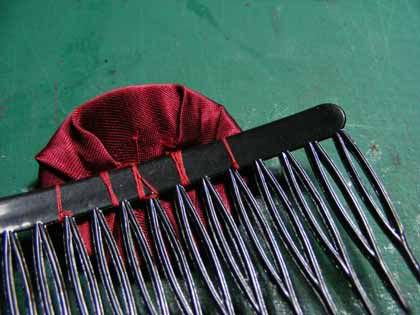
3. The base was then double thread sewn to the comb.
Use a double thread for all construction sewing to minimise handling and maximise hold.
Something very useful I figured out all too late in the process is:
Slip a rubber band around the comb to stop your sewing thread from getting caught on the teeth.
Construction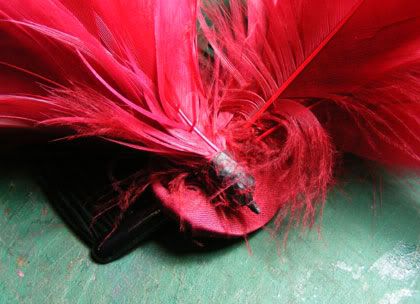
The dimple of the base provided a cradle for the flowers' stems. They, and all other components were sewn on.
Make it attractive from from all angles.
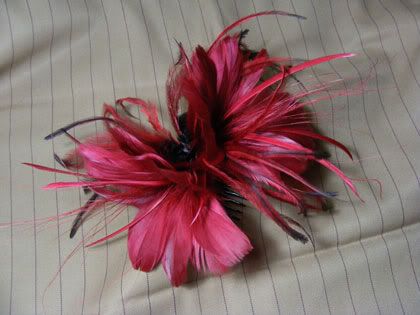
The feather flowers are the star of the show. Their placement allows this fascinator to be worn on either side of the head. To achieve this flexibility of wearing it needed to be attractive from all angles. While this is always a concern with millinery, it is particularly important if the piece can be worn more than one way.
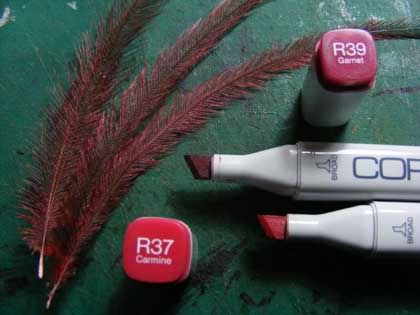
After virtually completing it I decided it needed 3 or 4 longer feathers. I hand coloured 4 emu feathers I had*** using Copic markers to match the bought feathers. Once dry the ink from these markers is more or less waterproof**** I did check out the central city store of Lincraft for an extra pick of emu feathers but much of what I sought looked like it had been trampled in a stampede or possibly plucked from roadkill. This was the week before Melbourne Cup Day. I wasn't going to pay $8 for a pick of 5 feathers with one looking
FUBAR.
Be fussy about your materials.
Take your time choosing them.
Get your money's worth.
Get in early or go suburban to get the best.
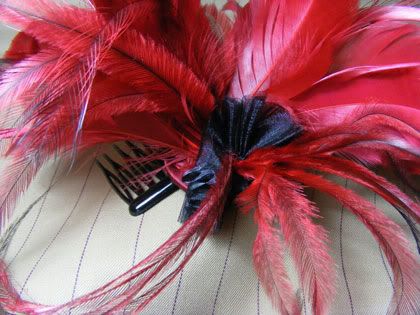
The organza fans (see
original post) add contrast, conceal the base and the feather quill ends. Each fan is made of about 5.5" of ribbon. The emu feather picks add volume from all angles.
This piece was about about one and half to two hours work.
*One case of the P word.
Please just let me know if you would like to republish any part of my posts/blog and give credit where credit is due.
I'm very happy to share - I don't make any money out of this - but I'd like some credit for it.
**Now 2 years old and still responsible for about 90% of my traffic, and about 99% during the Spring racing period.
***From my collection of exotic feathers accumulated from childhood visits to the zoo. Yes I'm a hoarder but I'm organised and it pays!
****Disclaimer: Depending on what the substrate is. I have used it on fabric to retouch colour, and subsequently laundered it without issues. It takes a few washes to get it out of your skin/fingers. I can't vouch for feathers but I am assuming they will be no worse than store bought coloured feathers...


